

Two ways to bring a downloaded build into your world. Paste it directly with WorldEdit on your server, or load it client-side with Litematica and build it yourself, block by block.
Overview
Downloaded builds usually come in one of two file formats. WorldEdit uses .schem (or the older .schematic), and Litematica uses .litematic. Which one you have decides how you use it. WorldEdit pastes the whole structure into the world instantly, but it runs on the server and needs OP or plugin permissions. Litematica doesn't touch the server. It shows the build as a ghost outline in your game so you can place every block yourself, which is what most players use when they don't have admin access.
.litematic file. Trying to will fail with a "does not exist" or "not supported" error, even though the file is sitting right there in the schematics folder. If the only file you have is a.litematic, skip to Method 2, or ask whoever shared it for the .schem version instead.Method 1: Paste It With WorldEdit (Server-Side)
The method for server owners and builders with OP or WorldEdit permissions who want the structure placed directly into the world.
- Make sure WorldEdit or FastAsyncWorldEdit (FAWE) is installed on your server.
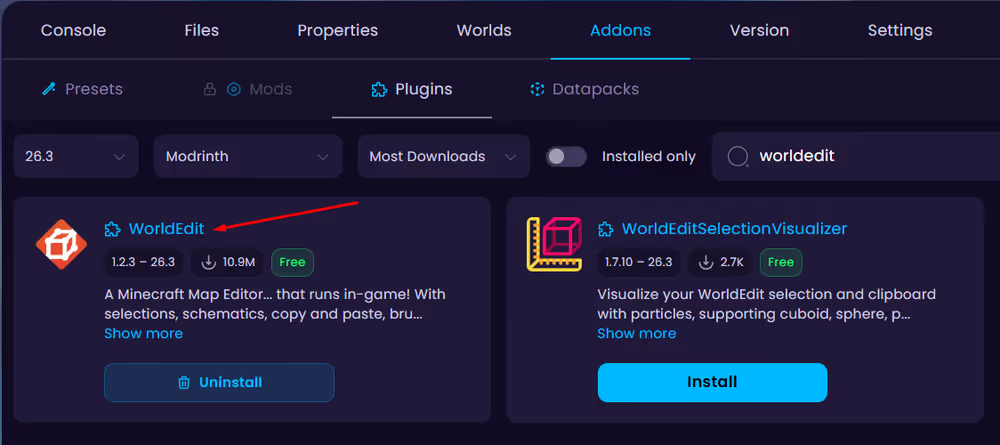
- Connect to your server's files, either through the Game Panel file manager or SFTP, and navigate to the schematics folder:
plugins/WorldEdit/schematics/
config/worldedit/schematics/ instead.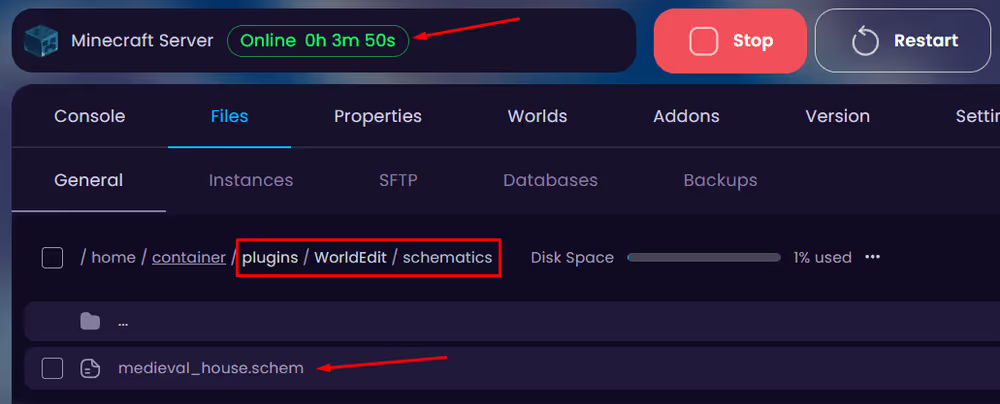
- Upload your
.schem(or.schematic) file into that folder. - In-game, run:
//schem load <filename>

- Stand roughly where you want the build to appear, then paste it:
//paste
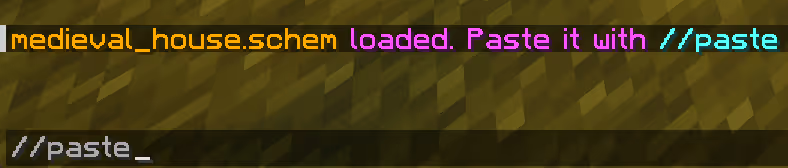
Add
-n to preview the footprint without placing anything (//paste -n), or -a to skip pasting air so it doesn't overwrite existing blocks (//paste -a). If it lands wrong,
//undo and try again from a different spot.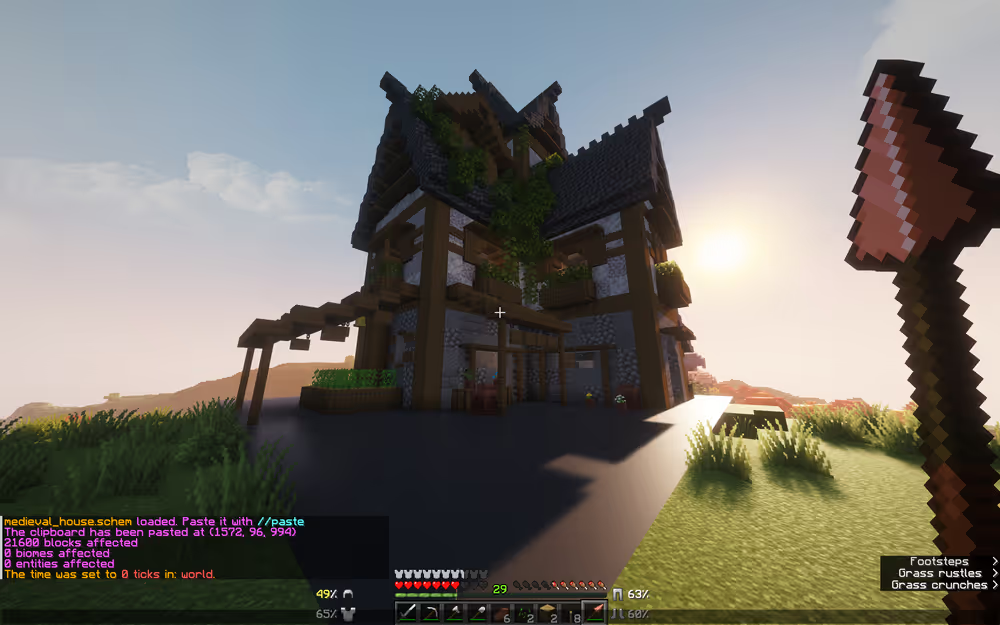
Use this command to undo your last action:
//schem undo
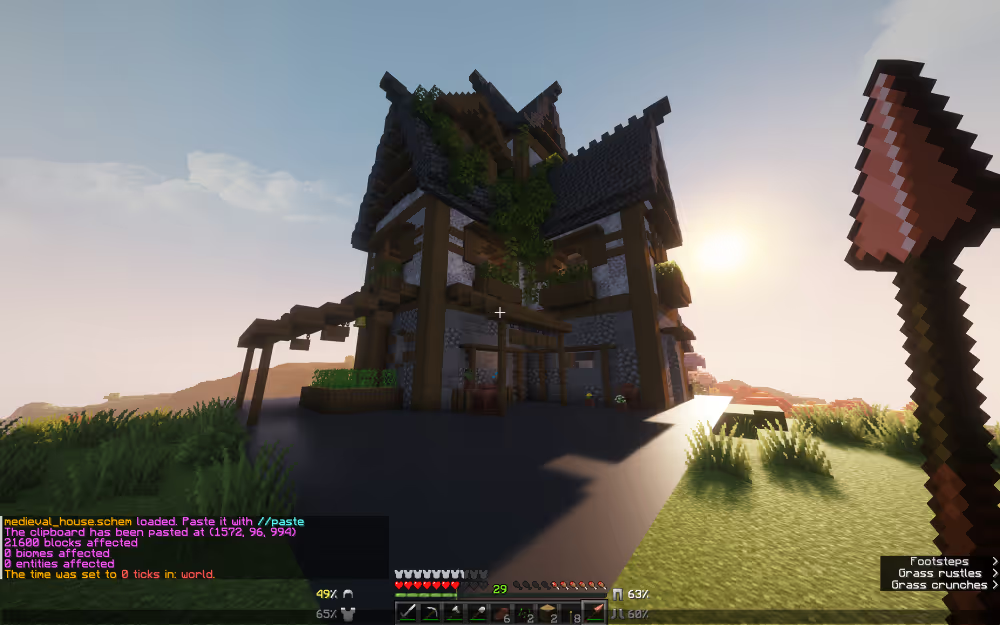
👉Use //schem list at any time to see every file currently sitting in your schematics folder.
Method 2: Load It With Litematica (Client-Side)
This method is for regular players who want to build a structure themselves in survival, without needing OP or any plugins installed on the server. Litematica runs entirely on your own game client.
- Install Fabric or Forge, then install Litematica and its required dependency, MaLiLib, into your
.minecraft/modsfolder.
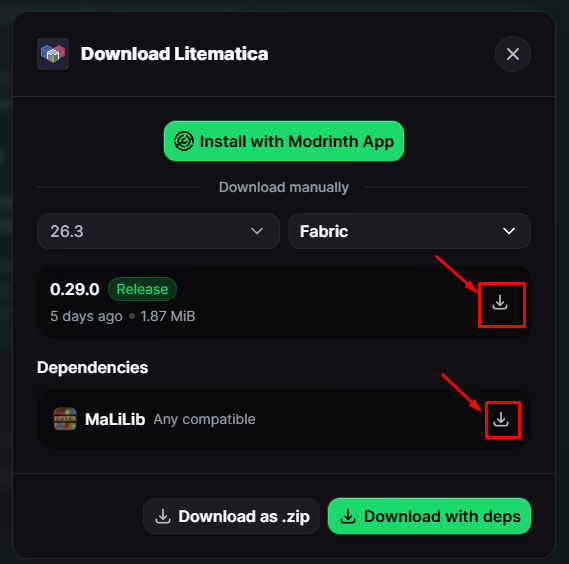
- Place your downloaded schematic file into your client's schematics folder:
.minecraft/schematics/
%APPDATA%\.minecraft\schematics. On Mac, it's
~/Library/Application Support/minecraft/schematics. Create the schematics folder yourself if it isn't there.On CurseForge, the destination is:
C:\Users\YOUR_USERNAME\curseforge\minecraft\Instances\INSTANCE_NAME\schematics- Join your world, then press M to open the Litematica main menu.
- Select Load Schematics and browse to the file you just added.
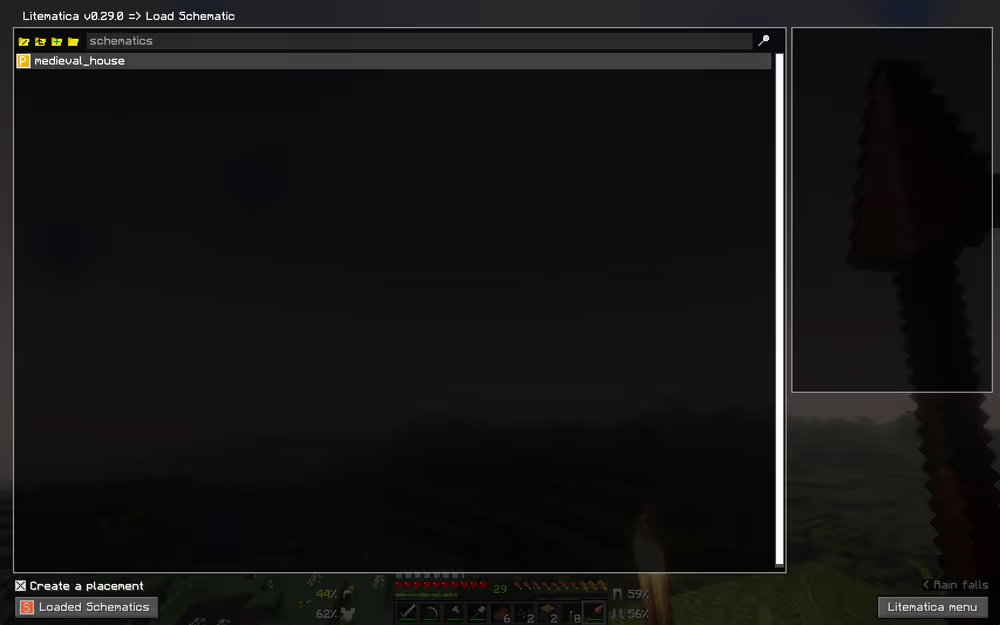
- Use Litematica's overlay tools (rendering, layer view, and the material list) to see exactly what to place and where, then build it block by block yourself.
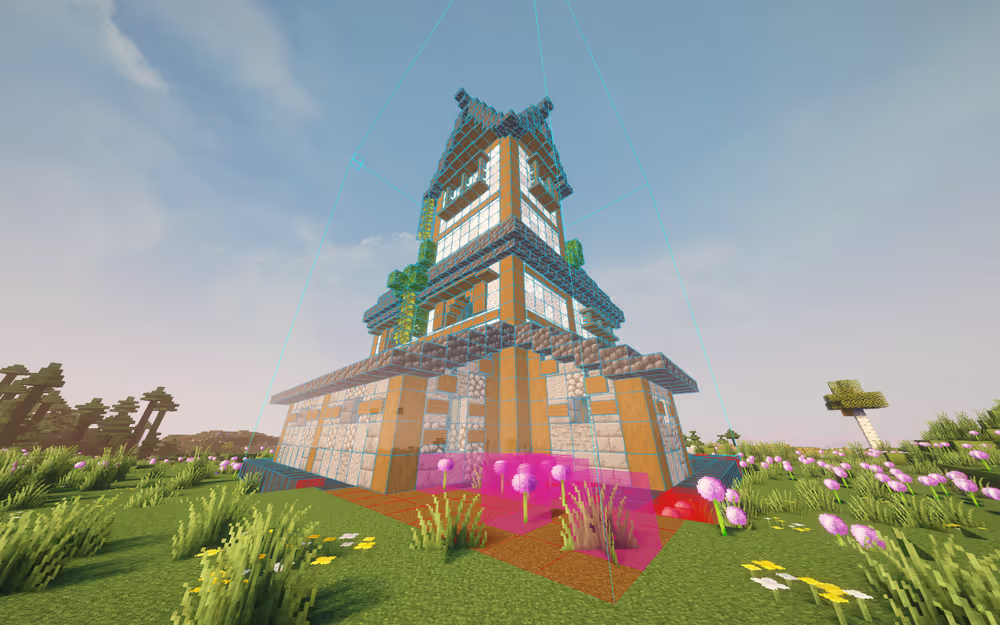
.litematic files and .schem/.schematic files, so it's more flexible on formats than WorldEdit. If a build is only available as a WorldEdit schematic, you can still load it in Litematica as a projection and build from it by hand.Which Method Should You Use?
WorldEdit runs on the server, needs OP or a WorldEdit permission, and places the structure instantly once you paste it, but it only reads .schem and .schematic files, not .litematic.
Litematica runs entirely on your own client, so you don't need OP or anything installed on the server, just the mod itself, and instead of placing the structure for you, it shows a ghost outline so you build it block by block, but it can open .schem and .schematic files as well as .litematicmaking it the more flexible option of the two.
If you're the server owner and want to build in the world, use WorldEdit.
If you're a regular player who wants to construct something in survival without asking an admin, use Litematica, since it's also the only one of the two that can open a .litematic file directly.


