
Modded servers have a reputation for being a nightmare to set up. They're not. What they are is unforgiving, miss one step, and you get an error with no hint which step you missed.
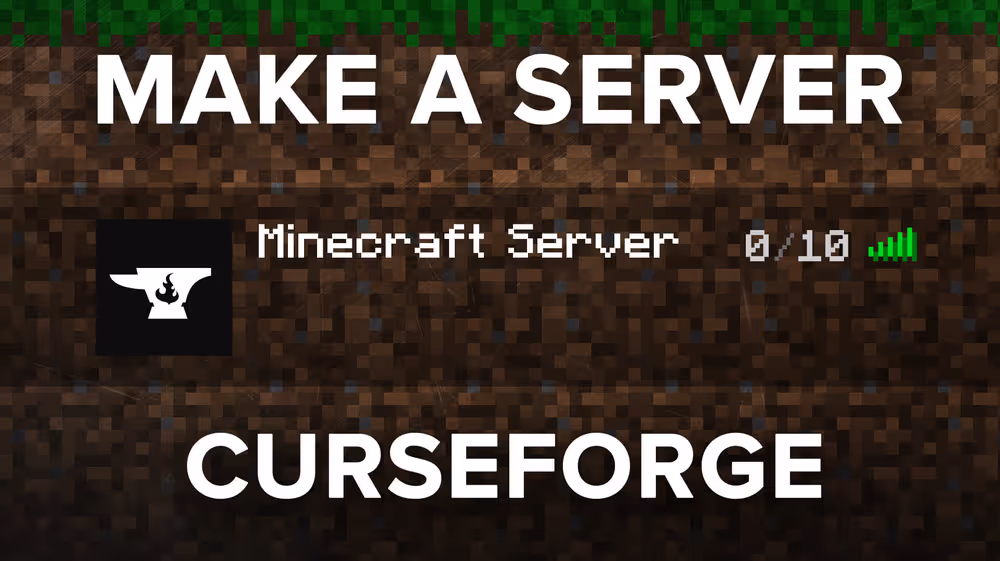
This guide walks you through step-by-step how to make a modded Minecraft server with CurseForge so you can play All The Mods, RLCraft, Better Minecraft, or any other modpack in CurseForge.
Before you get started
Hosting a modded server on your own PC is free, but it comes with three trade-offs worth knowing up front.
It's only online while your PC is on. Close the terminal or shut down your PC, and the server goes offline for everyone.
It's hungry. A large pack can eat 10–12GB of RAM plus requires a good CPU to run well, and that's before you've even joined yourself. Add up your Minecraft client and whatever else you have open.
It runs on your home internet. Letting friends in means opening a router port, which can expose your network if you don't know what you are doing.
None of this is a dealbreaker. But it's worth knowing now, not discovering it during the process.
CurseForge Server Hosting
If that sounds like more than you want to manage, using a Minecraft hosting provider skips all three. If you haven’t already, purchase a server with WiseHosting to get started, then follow the instructions:
- Head towards your WiseHosting game panel and locate the "Version" tab
- Choose "Modpacks" and select "CurseForge" from the dropdown filter
- Find the modpack you want and hit "Install"
- Click "Start" to start your server
- Copy the IP and join the world
Your server is live in under two minutes, stays online 24/7, and never touches your home network.
If you still prefer to start a CurseForge modpack server yourself, then keep reading.
1) Download and extract the modpack files
Your first step is grabbing the server files from the CurseForge app.
Open CurseForge and find the modpack you want to host. On the modpack's page, look for the server files download icon and click it. This starts downloading a ZIP file.
Move that ZIP onto your desktop. Right-click it, hit Extract All, then Extract. You'll get a folder containing every server file the pack needs. Rename that folder to something obvious, like "ATM10 Server."
2) Install the correct Java
Before the server can run, you need Java installed, because it's the engine the whole thing runs on. The catch is that you need the correct version, and "newest" is often the wrong answer.
Which Java version do you need?
It depends on the Minecraft version your modpack is built for, not the pack itself. So a pack on an older Minecraft version needs older Java, and installing the latest Java will stop it from booting.
Download Java
Once you know which version you need, Download the java version, and run the Windows installer with default settings. To check what's already on your PC, open Command Prompt and type java -version.
I also recommend installing Jarfix. Jarfix makes sure .jar files open with Java instead of some random program Windows picks.
3) Run the server
With the right Java installed, you can fire up the server for the first time. This first run won't be playable. It just generates the files you need, then waits for you to accept Mojang's terms of service (EULA).
Go into your server folder and find the .bat file. It might be called start, run, launch, or something similar. Double-click it.
What happens next depends on the pack. Some packs prompt you right there in the terminal to accept the EULA by typing true, I agree, or yes. If yours does that, follow the prompt and you're done with this step.
If it doesn't prompt you, press any key to close the terminal, then open the eula.txt file in your folder.
4) Allocate more RAM
Once the server has loaded at least once, close it down. Now we sort out memory, because the default allocation can be too little for the modpack to run.
To allocate more RAM, open the user_jvm_args.txt file in your server folder. The top of the file is comments explaining the syntax (-Xmx is the max, -Xms is the minimum, and G means gigabytes). Below that, find the two lines that set the values and edit them. For a large pack you'd set them to:
-Xms10G
-Xmx12G
Leave the rest of the file alone. All the -XX: lines below are the pack's pre-tuned garbage-collection settings, and you don't need to touch them. Save and close the file when you're done.
How much RAM is required for a modded Minecraft server?
It depends on the pack size, but the rough guide is small packs run fine on 4GB, medium packs want 6–8GB, and large packs like All The Mods need 10–12GB. More mods means more entities, recipes, and loaded systems, and all of that lives in memory.
5) Connect to your server
Now the best part, joining your own world.
Open Minecraft with the exact same modpack your server is running. The versions need to match perfectly. A mismatch here is the number one reason people get "connection refused" and assume their server is broken when it's actually fine.
Once you've loaded in, go to Multiplayer and press Add Server. Name it anything you like, but in the server address box, type localhost. Connect, and you're in.
6) Set up port forwarding
Right now, only you can reach the server. To let friends connect from outside your home network, you need to set up port forwarding on your router.
Final thoughts
Making a modded CurseForge server comes down to a chain of small steps where the order matters. But the two things that actually decide whether it works are simpler than the setup itself: whether your PC can handle the load, and whether you can get port forwarding working. Those are where people get stuck, and either one can turn a fun project into a frustrating one.
If the uptime, the RAM demands, or the port forwarding feel like more than you want to manage, renting a server from WiseHosting is the best next step, it handles all three for you, with 24/7 uptime and 24/7 support. Use code BLOG for 20% off your first month.