
When players explore new areas of your server, Minecraft has to generate those chunks in real time - which can cause lag spikes and a poor experience for everyone online. Chunky is a plugin/mod that lets you pre-generate a set area of your world ahead of time, so all the chunks are ready before players ever step foot there.
This guide covers how to install Chunky, configure a generation area, and start the pre-generation process.
Step 1: Install Chunky
- Head over to the Game Panel and stop your server.
- Navigate to Addons → Plugins or Mods depending on whether it supports mods or plugins.
- Search for Chunky and click Install.
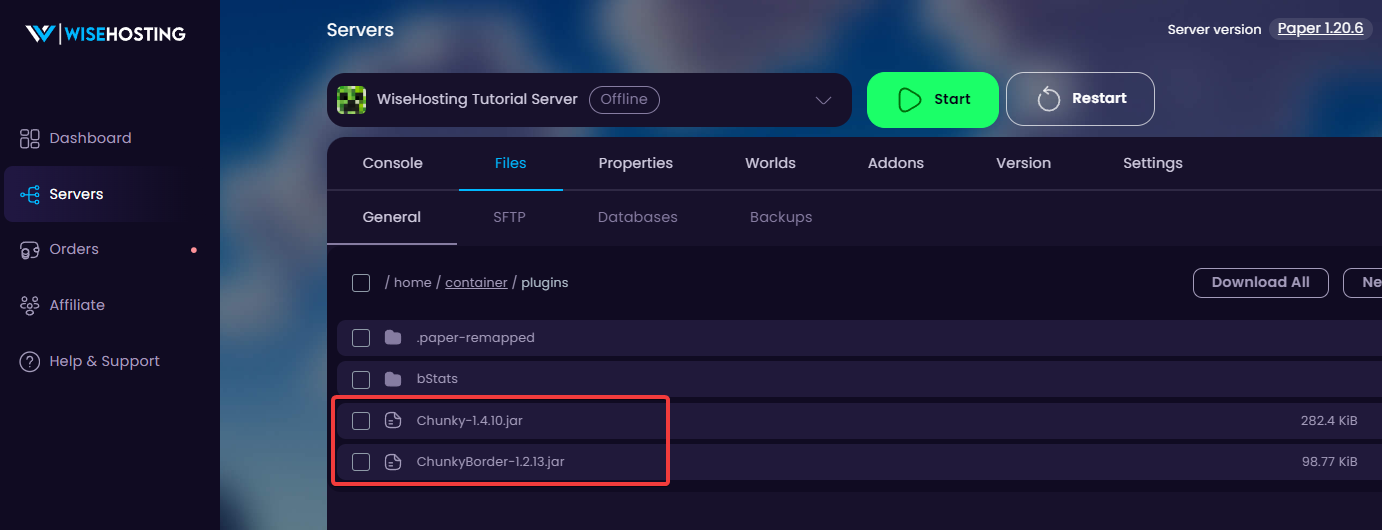
plugins folder- Start your server and confirm Chunky loaded by checking the Console for a message from Chunky on startup.
.jar file to your plugins/mods folder via Files.Step 2: Configure the Pre-Generation Area
Run the following commands in the Console or in-game. You do not need to stop the server for this step.
- Select the world you want to pre-generate by running
chunky world <world>, replacing<world>with the name of your world.
world (Overworld), world_nether (Nether), and world_the_end (The End) unless you've created a world with a custom name.- Set the center of the pre-generation area by running
chunky center <x> <z>, replacing<x>and<z>with your desired coordinates. Usingchunky center 0 0centers the area at the middle of the world. - Set the radius of the pre-generation area by running
chunky radius <radius>, replacing<radius>with the number of blocks you want to generate outward from the center. A radius of10000generates a 20,000 x 20,000 block area.
- Optionally, run
chunky selectionto review your configuration before starting.
Step 3: Start and Monitor Pre-Generation
- Run
chunky startto begin pre-generating the selected world.
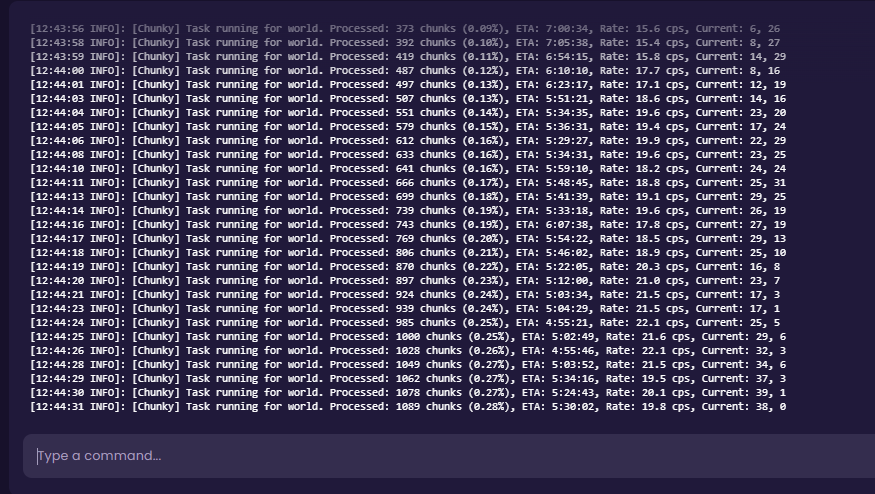
- Run
chunky progressat any time to check how far along the process is.
- Run
chunky pauseto pause the task, orchunky cancelto stop it entirely if needed. - If you paused the task, run
chunky continueto resume it.
Pre-Generating Multiple Worlds
You can repeat the process for the Nether and The End by running chunky world world_nether or chunky world world_the_end and configuring a new radius. A radius of 2500 to 5000 is usually sufficient for those dimensions since players tend to travel less there.


